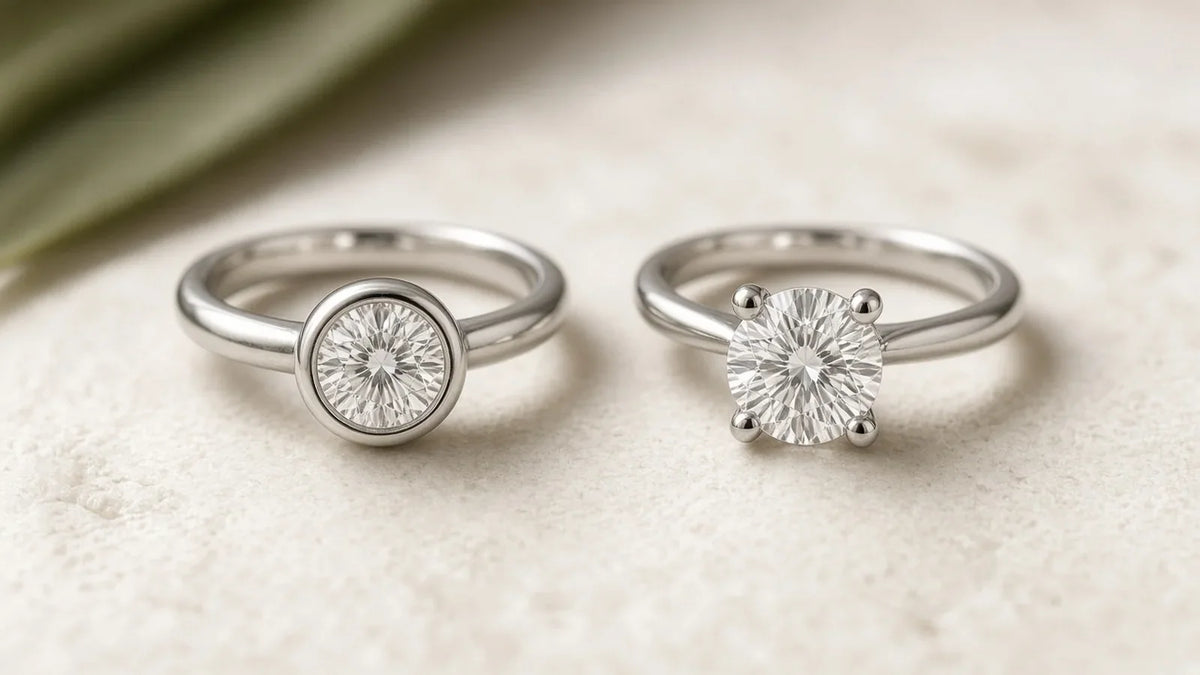
A bezel holds a diamond with a rim of metal around its edge; prongs hold it at individual contact points. Choose between them by the visible outline you prefer and the practical questions your complete ring needs to answer. The setting name alone does not establish height, comfort or suitability for your routine.
Recognise what is holding the stone
GIA's ring-setting guide describes prongs as metal elements bent over a gemstone's edge and a bezel as a surrounding metal rim. A full bezel encircles the edge; a partial bezel leaves parts exposed. Both can appear in a single-stone ring, so “solitaire” does not decide between them.
- Prong direction
- Individual metal contacts interrupt an otherwise more exposed stone outline.
- Full bezel direction
- A continuous rim frames the perimeter of the stone.
Compare outline, contact and maintenance
- Visible metal
- Prongs show separate accents; a bezel creates a continuous border. Decide whether you want to see a framed outline or more exposed edges.
- Contact with fabric
- GIA notes that raised prongs can catch on fabric, while smooth bezel edges are less likely to snag. Ask about the actual profile rather than treating either name as a promise of snag-free wear.
- Protection
- A bezel covers more of the edge. That protection does not make a ring indestructible or remove the need to consider how it will be worn.
- Checks
- Prongs need attention to their condition and security. A bezel also needs care and inspection if the stone or metal appears damaged or changes.
Do not reduce the choice to “which sparkles more?” The diamond's own appearance and the exact design still matter. Compare the proposed stone with the setting description, rather than judging a technical feature from a generic front-view illustration.
Ask for a side view, not just a top view
A low-looking top view may hide a raised head. Ask how high the proposed ring sits, how the head meets the band, and what space is left for a neighbouring ring. If you want two rings to sit together, share the other band's dimensions or useful photographs and ask whether a gap is expected.
Discuss band width and profile with the stone dimensions. A narrow-looking band in an enlarged image does not tell you its actual size. Stone shape, depth and corners also need to be reviewed with the setting; these are questions for the individual design, not a universal construction recipe.
Illustrative brief: “I prefer a framed oval outline and want to discuss a lower profile. I often wear gloves and plan to pair the ring with an existing band. Please explain the side view and likely space between the rings.” This is a discussion example, not an approved design or occupational safety recommendation.
Plan how you will wear and check it
Describe situations that matter to you: clothing that catches, frequent glove use, an existing band, or tasks where you remove jewellery. Do not assume a protective rim makes jewellery appropriate for every activity. Ask what care and inspection advice applies to the finished design.
If a ring begins catching unexpectedly, a stone seems to move, or a metal element looks bent, seek a professional assessment before continuing to wear it. See ring size and care guidance for preparing a useful enquiry about a concern.
Choose a direction and name the unresolved detail
Use the setting gallery (including our bezel ring design) to express your preference, then prepare a setting brief. Include the intended shape and any practical constraint. If shape is still open, compare the emerald and oval directions first; the final setting needs to be reviewed with the selected stone.
By STELLIVON. Source checked October 3, 2026. Laboratory references explain general principles; they do not certify STELLIVON or an individual ring.